Sebi’s Random Tech – Postmortem

This game is not long. In fact, it is quite short. However, during the creating process, I learned a lot, and I would like to share it with you all.
The game was made for a the monthly HEJ game jam – 2020 July. The theme was “About Your Favourite Youtuber. The Sebi’s Random Tech channel immediately came to my mind. I mostly watch his (retro) ThinkPad videos and I wanted to make a game related to them. Sebi usually starts his ThinkPad videos with small clips of the given laptop out in nature. This was something I wanted to include. Most of the videos are guides on how to change parts of certain laptops or how to upgrade them. In my game, I wanted to include the reassembly process of the laptop.
Thus, my game consists of 2 parts: first, you must assemble the laptop, then go out to the park and take some pictures of it.
Here is a list about how I did things and what I learned in the process. Each point is explained in further detail below.
- Full modelling and texturing workflow
- Rotating and object (it can be tricky in Unity because of the quaternion values)
- Using raycast to select an object
- Using the OnMouseOver function to select an object
- Taking and saving a screenshot inside Unity
- Improved UI (masking and scrollbar for longer texts and hold function for buttons)
- Creating an intro video
1. Modelling the laptop:
I have one retro ThinkPad, the T61, so I used that. Originally, I wanted to have a full assembly, but later realized would not have the time to model every single part, so I decided to model only 6 parts:
- the main chassis,
- the screen,
- the battery,
- the HDD tray,
- the palmrest,
- and the keyboard.
I disassembled the laptop to be able access all parts, took rough measurements and take pictures about all components. I used FreeCAD for modelling. I needed to simplify the geometries to be able to finish the model within a reasonable amount of time. I prepared the textures using GIMP. I cropped the images and deleted all logos and information to be on the safe side. I used Blender to put the models and textures together. I then imported the models to Unity, where I assembled the laptop and put it in a single object.
2. Rotating the laptop and opening the laptop screen
Rotating objects in Unity is a bit tricky. When arranging thing in the editor, one can rotate objects around the x, y, z axes using Euler angles, expressed in degrees. However, using this approach can result in a loss of a degree of freedom, thus not being suitable to store and manage rotations. To tackle this, Unity uses Quaternions to manage rotations. Further reading about quaternions here. When rotating the laptop around the vertical axis (this was the global y axis, which is the same as the local y axis), this did not cause a problem, because I did not need to limit the rotation. However, the screen can only rotate between 0° and 180° around the axis of the hinges (for me, this was the local x axis). With quaternions, this cannot be expressed easily. All rotations can only assume values between 0 and 180, and to be able to determine a given rotation, we need to investigate at least 2 directions. In my case, the local x rotation was between 0-90 and then between 90-0, and the z rotation was in one case around 0 and in the other around 180. So, I needed to check in which z quadrant the lid is before applying the 0°or the 180° constraint.
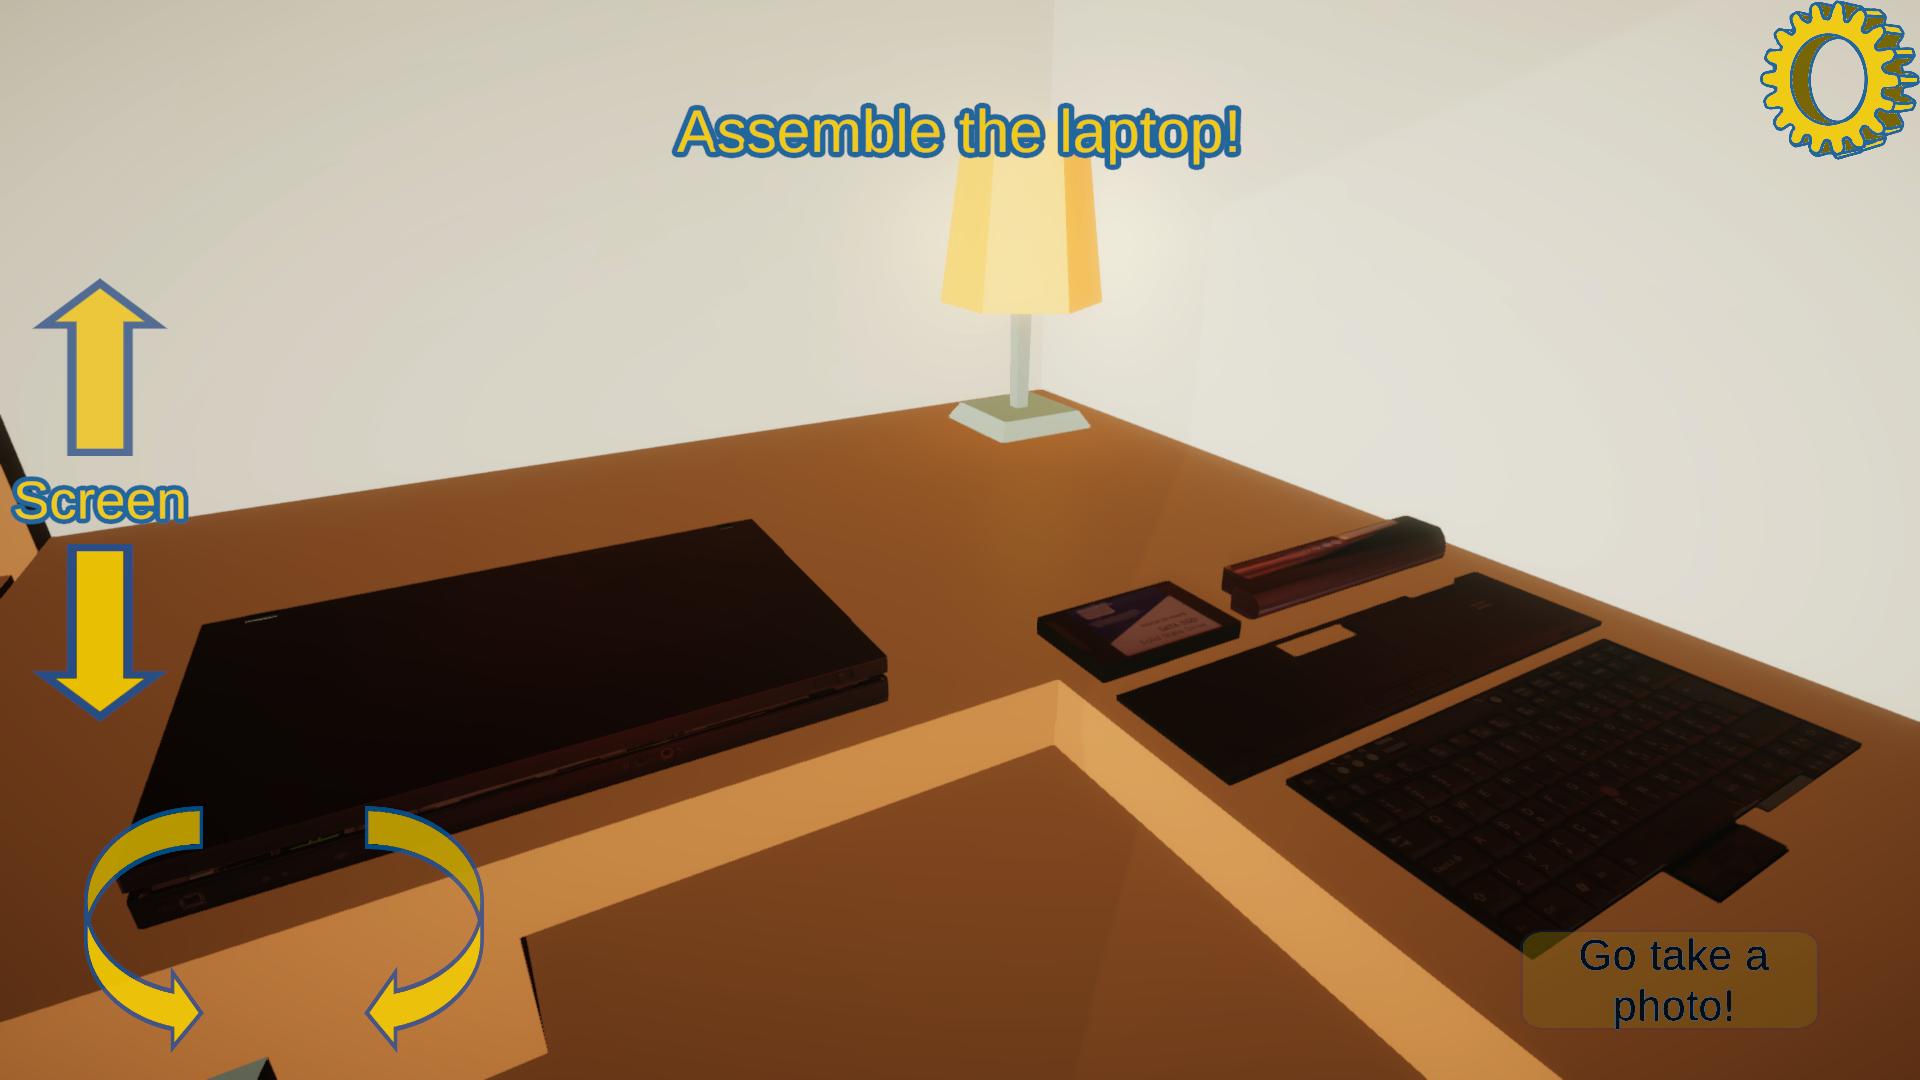
3. The assembly processes:
I wanted to use drag and drop for the laptop assembly, however, I soon realized that I need to move the part in 3D, but my input device (the mouse) is 2D. I am sure this dilemma can be solved, but by the time I was programming the laptop assembly, I was beginning to run out of time. So instead I wanted to just click on the part, and it would magically be in the right position. To determine which part was clicked, I used raycast. Further reading about raycast here. The only things I needed to pay attention to were that the palmrest can only be installed once the keyboard is in place, and that the battery needs to be installed last. I solved these with simple “if” statements. The laptop that is being assembled is actually complete, but all parts that will be assembled are disabled, thus they cannot be seen. If the player clicks one of the parts that are on the table, that part will be disabled, and the corresponding part on the laptop will be enabled.
4. Selection highlight
I wanted to highlight the part that is currently being targeted by the mouse. I could have used raycast here as well, but I wanted to see how the OnMouseOver function works, just to learn that as well. I wanted to solve highlighting with a shader, but soon realized it will be too complicated for the limited time I had. Instead I copied the materials of the parts and added a yellow emission to them. When the mouse is above a part, the standard material is replaced by the new one, and when the mouse is no longer above the part, the material is changed back.
5. Taking a screenshot
Unity has a built-in function for taking a screenshot. The problem I had with this was that it also saved the user interface. I probably could have solved it with multiple cameras but I am not that familiar with that, so I instead disabled the user interface each time a photo was taken, and reenabled it after 0.1 second.
6. User interface improvements
One thing I wanted to do for quite some time was a scrollable textbox. Since it is a rather minor convenience, I usually did not have the time to implement it, but now I managed to find it some time. It is not a huge thing, but I am happy that I finally know how to implement it. The other thing is not really UI-related, but the problem occurred during UI design, so I thought I list it here. For the rotation of the laptop I used dedicated buttons. For each click on the button the laptop would rotate a given number of degrees. But I soon found out that if I wanted to turn the laptop around, I would have to click on the button 5-15 times (depending on the angle). So instead I enabled hold mode for the button, which is much more convenient to use.
7. Intro video
Previously I used Unity’s build in splash screen, but I always wanted to start a game with an intro video. Once I had the video (which I created using PowerPoint…) I added a new scene with only a videoplayer component in it. This scene loads in first once the program is started, and when the video is finished, it automatically loads the game scene.
Closing thoughts
I really enjoyed this project. I learned a lot of new things, some of which I wanted to implement a while ago, but could not because of time restrictions. I am rather enthusiastic about laptops, so that was a fun part, too. I wanted to make my own music, but that is much more difficult than I thought, so at the end I went with a royalty free soundtrack. This is something I want to learn on the long run.
In the future I may expand on this game. I also have a few ideas how it can be made better, for example changing the resolution and the save folder of the screenshots, as well as adding new laptops that can be assembled.
Files
Get Sebi's Random Tech - The Game
Sebi's Random Tech - The Game
HEJ game jam - About Your favourite Youtuber
| Status | Released |
| Author | Bence Mervay |
| Genre | Simulation |
| Tags | 3D, Casual, Experimental, simulator |
Leave a comment
Log in with itch.io to leave a comment.